March 11, 2011
carol
Not rated yet
Individual characters (letters, numbers and punctuation marks) from my alphabets and
individual designs can be found on my Stock Design Page. My designs are also available in
packs, as described in this blog. Those can be found here. For designs and packs available
in multiple sizes, choose the size you want in the drop down menu box.
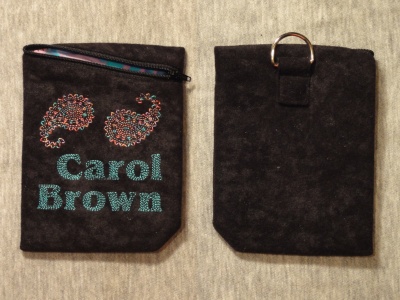
When I showed my new Small Zip-Around Pouch to some friends recently, one of them
said she wished she had a pouch like that to wear at her recent sewing expo. She
thought it would be perfect for holding class tickets. With the addition of a D-ring on
a loop in back, a ribbon or cord will allow the pouch to be worn as a necklace. A name
embroidery on front removes the need for a separate name tag. Here is the pouch I made
to try this idea. I used my Contour Print 30 alphabet for my name and accented it with
Paisley_A_50, from my Contour Paisley Accents collection, in a Superior variegated thread.
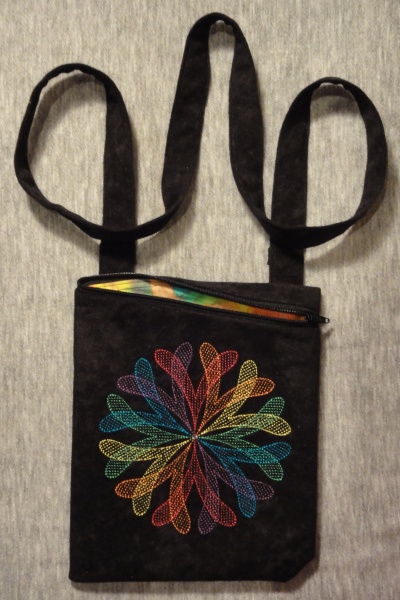
My next idea was to add two loops with D-rings to the back of a pouch. I added a
long strap and the pouch is now a purse! I used the large size of pouch for this purse.
The design is V_12_6-color_142, available here.
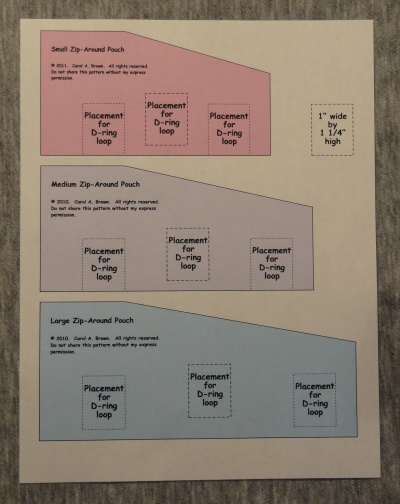
Here are the files you will need to complete this project.
The templates fit the upper left corners of the three pouch sizes. Each template has
three rectangles, representing locations for D-ring loops. Use the one in the center for
a necklace pouch OR the two on the sides for a purse. When you print your templates,
be sure to turn off all sizing options in Adobe Reader.
Here is another way to adapt the pouch pattern. The Zip-Around Eyeglass Case
includes instructions for an optional inner pocket for the eyeglass case with the wide
opening on top. I used the same idea but made a pocket on the outside of a pouch, instead.
The pocket holds my comb and some pens. I added a swivel hook on a loop in the side seam,
so I can snap my keys to it. (I don't like hunting for keys in the bottom of my purse,
do you?) I have so many pouches in my purse that this one stands up, right in the middle.

I used the large pouch and V_18_6-color_142. I cut the fabric for the pocket 15" wide by
5 1/4" high. I used 3/8" seam allowances and omitted the fleece. I didn't think the denim
needed extra heft. I used interfacing rather than fleece for the pouch, as well. After
stitching the pocket to the back of the pouch, I drew lines to mark vertical divisions for
my pens and comb. The pen sections are 1" wide and the comb takes up the rest of the pocket,
about 2 1/4".
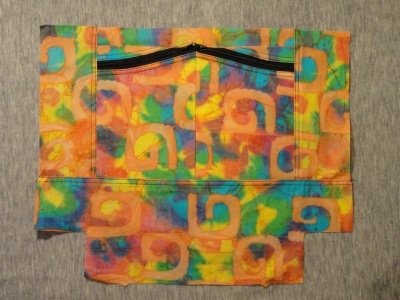
I am quite proud of the messenger bag I designed and made for myself. I created yet
another Zip-Around variation for the lining. I cut two Small Zip-Around Pouches and linings
from the fabric I used to line the bag. I interfaced the pieces I would use for the outsides,
cutting one interfacing with the pattern right side up and one with the pattern right side
down. The result is that the pouches will be mirror images of each other.
I attached the zipper tape and linings to the pouches and then pressed them in half, right
sides out. (For the mirrored pouch, I left more zipper tape at the higher end of the slant
rather than at the lower end.) I unfolded the pouches and placed them right sides together.
I stitched the two pouches together along the fold line, beginning at the bottom and ending
just below the zippers. I refolded the pouches so that each one could close, and then added
the zipper pulls as I normally would. I then basted the pouch to another piece of lining
fabric. I stitched in the ditch between the pouches to create two pockets behind the pouches.
Finally, I added side and bottom pieces of lining to complete that half of the lining for the bag.
I hope you can see how easy it is to make small changes to a project in order to come
up with something new. We need not reinvent the wheel, as the saying goes. Instead, we should
just add new hubcaps!
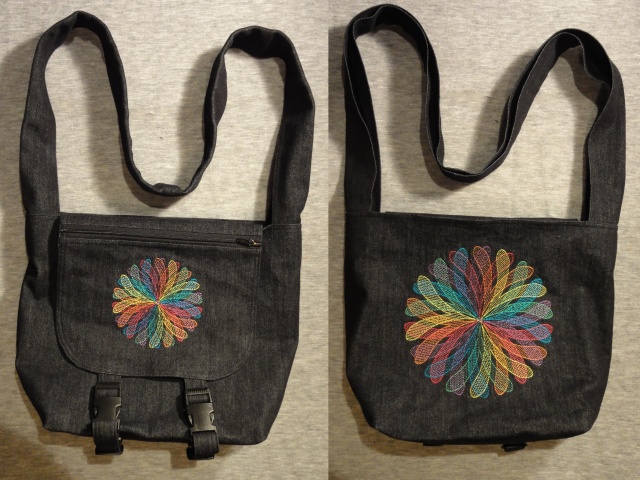
Here are a few more pictures of my bag, just in case you are curious. The flap has a
zipper pocket and two parachute clips. The design is V_18_6-color_116. The back of the bag
has the same design sized for the 200 x 200 hoop. I really like how the bigger size pops.