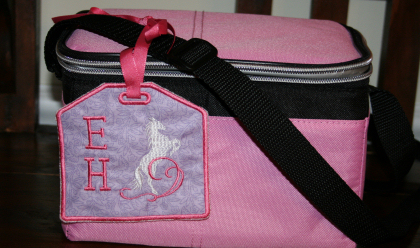
I went to have lunch with my granddaughter this week. It was fun but one thing that amazed me was how many lunch boxes looked just alike. And they were all jumbled together in huge tubs so it took the kids some time to find the one that belonged to them. So, this week we made In-the-hoop tags.
Here is what you need:
The tag which you can download here
Two scraps of fabric about 5.5" square
Ribbon
Embroidery designs of your choice (here is where I got the horse)
Alphabet Xpress or Ann's Alphabet for lettering
Temporary spray adhesive
stabilizer (not lightweight tear away)
Here is what you do:
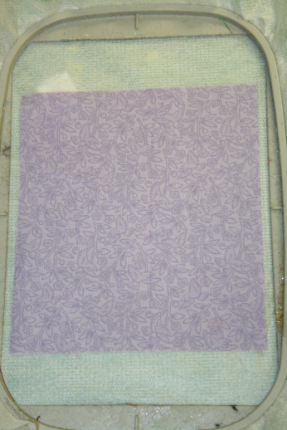
1. Hoop a double layer of stabilizer. I used a medium cutaway but a good tear away or wash away mesh could work as well.
2. Embroider the first color of the tag design.
3. Place one piece of fabric on top covering the stitches and secure edges with some temporary spray adhesive. Embroider the second color
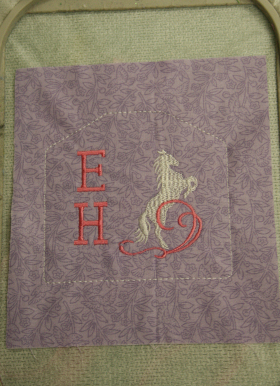
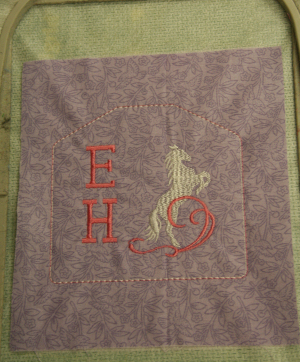
4. Now embroidery your design or monogram. (If you do not have software to combine these you will have to leave this design and go to the one you want in the center. We'' come back later.)
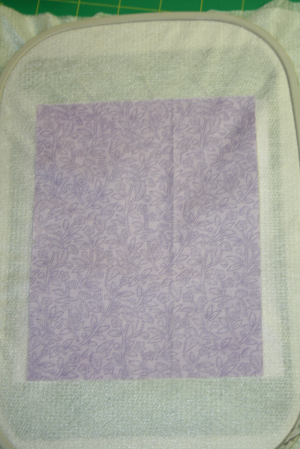
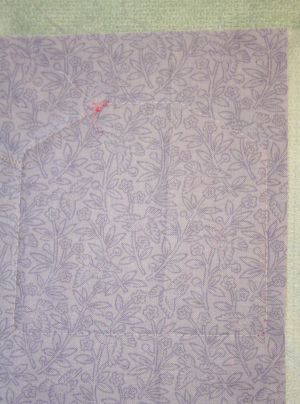
5. Remove the hoop. Turn it over and place the second square face up on the back making sure it covers the tag outline. Secure the edges with a little temporary spray adhesive.
6. Reload the tag design and advance to the third color. Carefully slide the hoop back on the machine and if possible check to be sure the fabric underneath stayed in place. Embroider the third color.
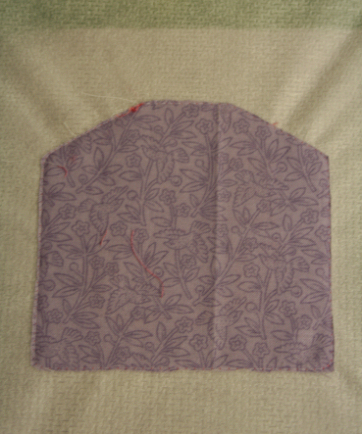
7. Remove the hoop and lay it face up on a flat surface. Carefully cut around the edges of the tag outline. Turn the hoop over and do the same on the backside.
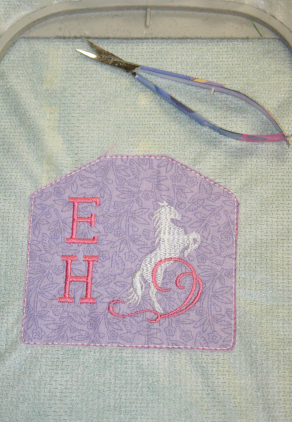
8. Load the bobbin with the same color as the top thread for the satin appliqué outline thread you want to use. Carefully slide the hoop back onto the machine and embroidery the fourth color.
9. Embroider the rest of the tag.
10. Remove the stabilizer from the hoop and carefully cut (or tear or spritz depending on which stabilizer you used) to remove the stabilizer.
11. Slit the small hole for the ribbon. Insert the ribbon. Sew across to secure it in place if desired. Tie on and your ready to go to school.
Note: She loves horses. The Horse design came from this collection.
Our younger grandaughter hasn't had a chance to sew hers yet but she picked frosty and here is what it will look like.
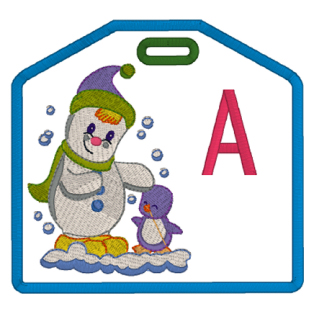
I think I will sew velcro onto her ribbon so it won't have to tie and won't come off too easily since she is only two.
Be sure to have fun sewing this week.
Take care,
DB