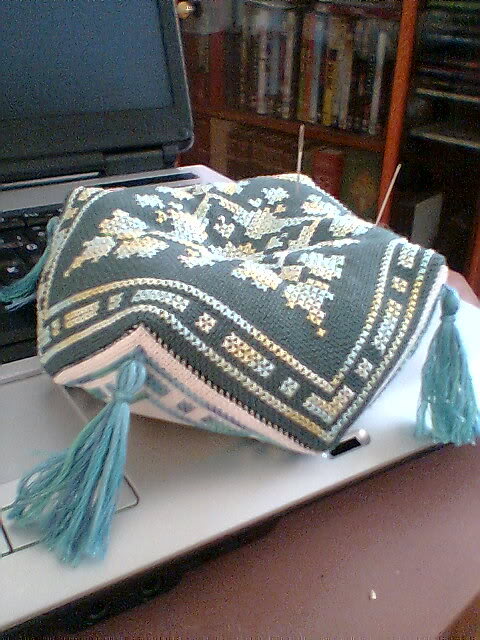
A biscornu is an elegant, eight sided ‘pincushion' whose origins have been lost over the centuries. Biscornu is a French adjective, literally meaning "two horned." It is also thought to be something that is irregular, a little lopsided. It is pronounced "biss-core-new." The actual shape does look a little like a biscuit, but there is no known relationship between those two words. In some of the better photos, I think there was a ‘horned' appearance.
The biscornu is made from two cross stitched or embroidered squares sewn together. A corner is attached to the midpoint of the second piece of fabric. The work is accomplished with a whip stitch and the nearly complete ‘sack' is filled with batting or stuffing. When complete, the finishing touch is a button sewn tightly between the two pieces of fabric.
If you are confused, the following photos will make it clearer. Additionally, as you do a little of the hand work you will see where the project is heading. During my research on this technique, I found that it was considered to be a ‘beginner' variety of project, so I figured even I could do it. I do want to state that I have never been good at 'sewing' per se. These are my adventures, and you may find easier ways to do interesting projects.
I started out with some canvas fabric. Since the original design was created from crewel style needle work, the canvas seemed to be a good idea. In fact, that proved to be too stiff to work with and did my second attempt with a soft cotton fabric. Then, I did discover that it is more difficult to work with a dense design. Light weight is the secret for this project.
Here is one from the Net. They really are chic.
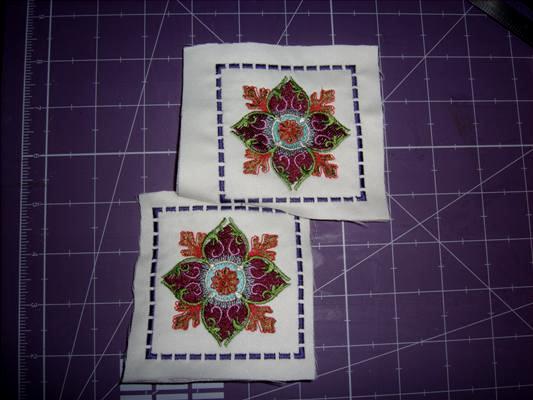
I have completed my project, but either of these would have been a much better selection:
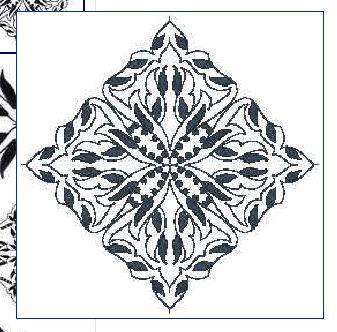
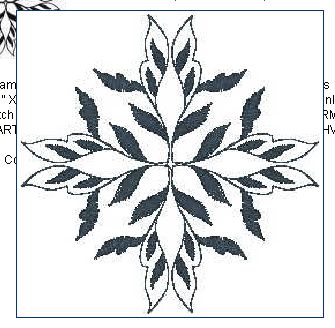
You will want to use a symmetric design with a center of the block side well defined. These two are available in a set or single design format. Check it out, Blackwork.
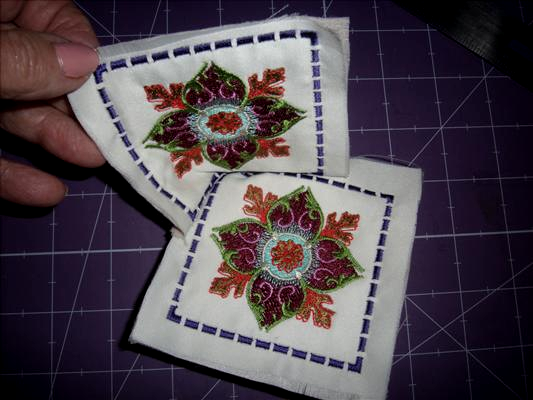
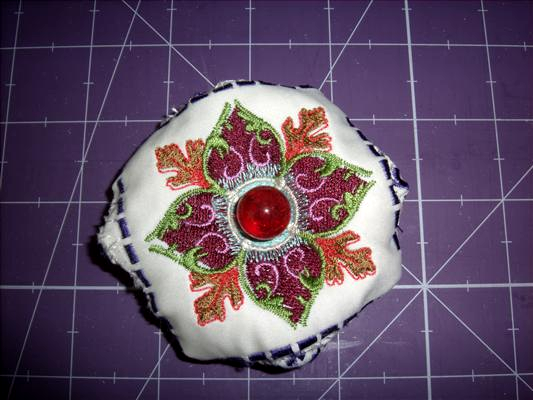
I selected a design from my BabyLock that was symmetrical and I added a frame around it. I made the sides identical.
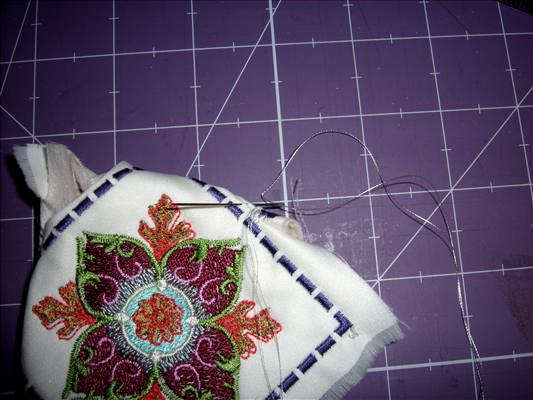
The instructions that I found on the Net most all stated that the edges were to be sewn with a whip stitch. I guess my hands are not as strong as they once were, so I tried to do a straight stitch face to face. That was also a bit difficult for me. I finally came up with a solution.
I tacked down each corner to mid point with a strong thread. Then I did a second tack mid way between corners. Be sure to do the tack down just to the right and left of the corner point rather than directly on the point. I hope you can see it in this photo. I also trimmed back the stabilizer. At that point, I turned the project on its right side and did those whip stitches. It was a lot easier for me. Of course, I left an opening for the batting to be inserted.
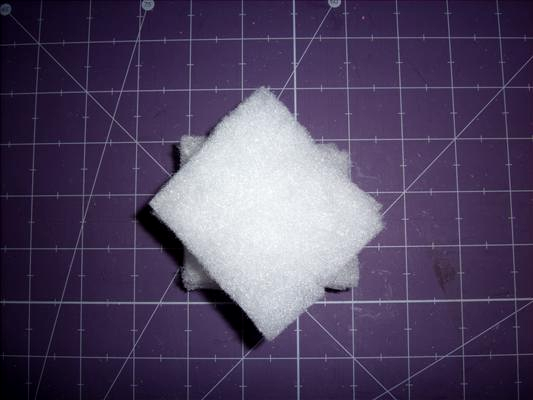
The instructions called for filling of scoured wool, but I decided to use batting instead. That way I could make the corners a bit sharper. On the top side, the batting square was fitted to the fabric square. On the bottom side, the batting square was turned to match the bottom square. I actually used 8 layers for this project, but it would depend on your batting.
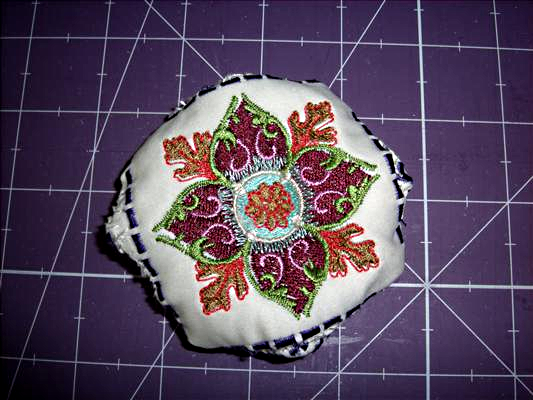
The end result is my biscornu - pincushion to the rest of us. The photo does not do it justice. It is really very nice.
Raw wool is described as "in the grease," since it was contaminated with dirt, vegetable matter, dung, dander, and lanolin (grease). The processing removed these contaminants and clean and sort the fibers. The overall process reduced 100 lbs of raw wool to 30-35 lbs of final wool product.
Best wishes to you and yours,
Pat, The Avid Embroiderer