Here in San Diego, the summers are very mild. There is little or modest humidity (30% would be really high here) and the days may be wonderfully warm for swimming, but the evenings - are the reason people love to live in southern California. Evenings are mild and excellent for walking and sleeping, hopefully, not at the same time...
I found a great pair of shorts with a little stretch (love that!) a couple of pockets (I keep my frogs in them) and a nice brown for easy coordination with lovely embroidered tops. The only problem is, for me, they are a little long. I suppose they should be covering my knees, but I like them just above my cute knees. (you must read "Life is Not A Dress Size" by Rita Faro. Rita was a big hit at the Community Circle this year, she has a terrific sense of humor and we laughed until our faces ached!!
I could have just hemmed them, but that seemed to be so boring that I thought about doing a border as an edge instead.
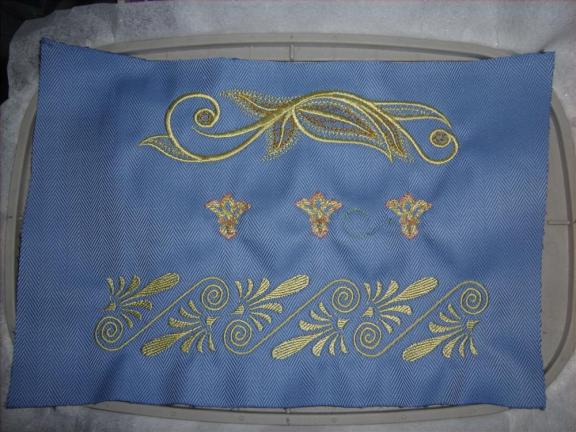
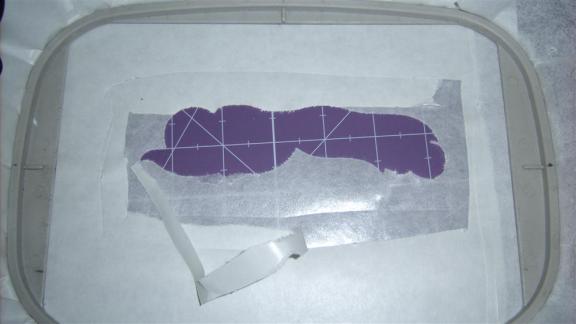
I could not find what I really wanted, a FSL which had curves and was like a border AND did not have 15,000 stitches per 6 inch increments. FSL that is digitized to be a border tends to be floral, at least that is what I found. I wanted to cut the shorts and have a portion of the design on the shorts and a portion free standing. But, I had to settle for a border which had a good satin stitch around the edges. No matter what design I choose, I can see that I will have to use something like "Fray Check" to hold some of the fabric. I can deal with all of that - - - I think.
I selected 3 designs to discovery sew (my name for the formerly used name ‘sewout'). The second one was clearly not suitable. The third one is not likely to work. I tested the first design and it worked well. Since my design is specifically a border, it does have some advantages including that it was meant to be placed linearly and the design is set to do its repeat specifically. The length of the border is exactly 6" (aren't they smart) but it does not divide evenly into the width of my shorts. So, the 2" left over will be inside the crotch area where it won't be visible anyway.
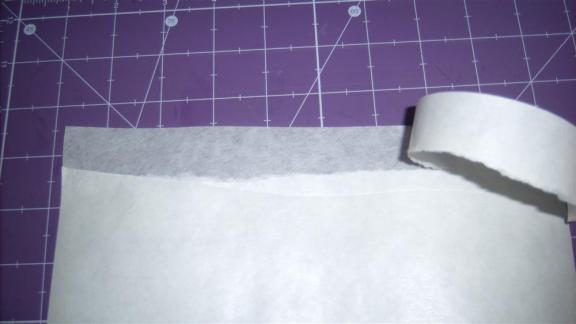
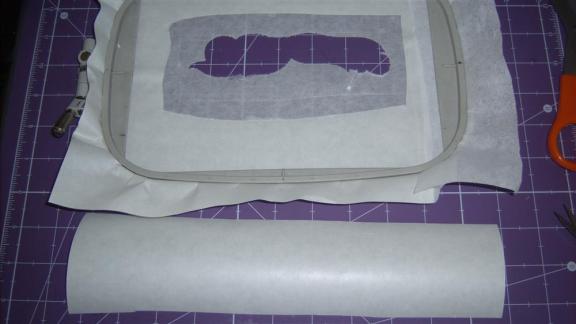
I am using Ann The Gran Medium Adhesive Back Tear Away. If you have not tried it yet, you need to know that it is the best quality and price available anywhere. The only cheaper one is one that you win. . . And, you can make that stretch into multiple uses, here is how.
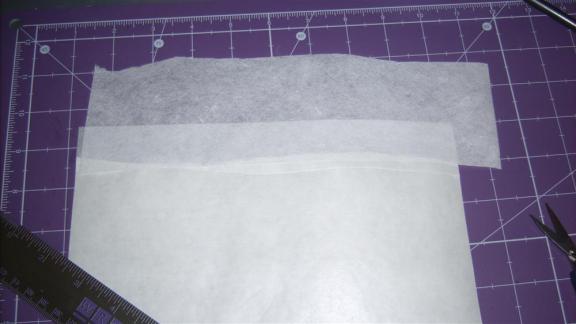
I had gotten the 11" by 10 yard size, I should have gotten the 14" by 10 yard size, so I do make some small adjustments. I cut my piece to fit the short side of my hoop (the 5" size in this case). I then score the top 1" of the stabilizer and add a 3" scrap of any stabilizer. Since it is only for holding the main stabilizer in place, it really does not matter what I use, I could use a piece of paper if I wanted to.

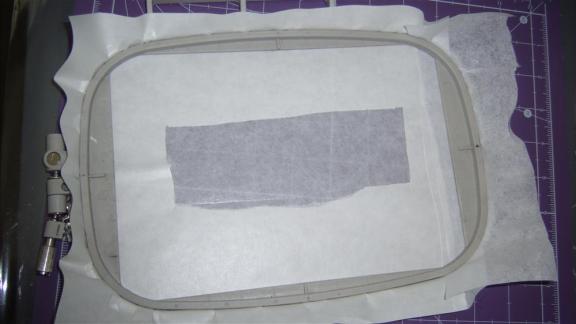
Now my hooped stabilizer is in place and I am going to make a small score for the design. I have done my test discovery sew, so I know how large my design is and how much sticky area I need. My fabric is medium weight so I can do this, however, if you are using a heavy weight, you may need to consider a larger sticky area. I sew my design and remove it from the stabilizer, leaving the stabilizer in place.
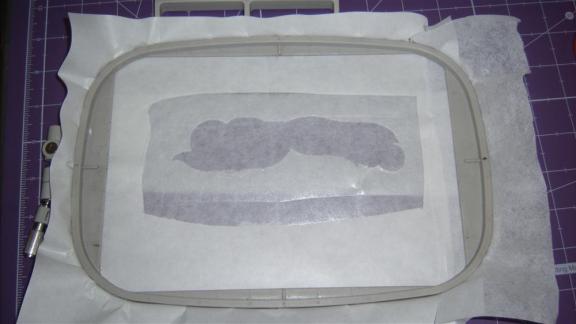
I next score my sticky stabilizer about .5" (12.7 mm) around the design area, creating a fresh area of stick. I place a 3" piece of the stabilizer to patch the hole and . . . . I have a fresh work area.
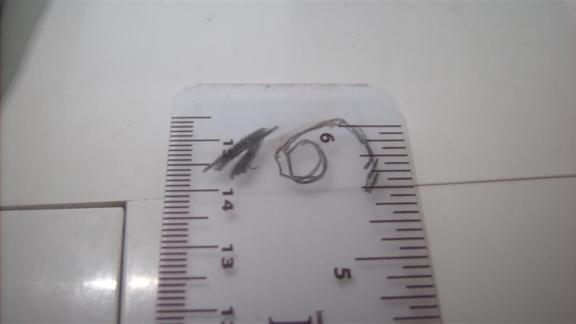
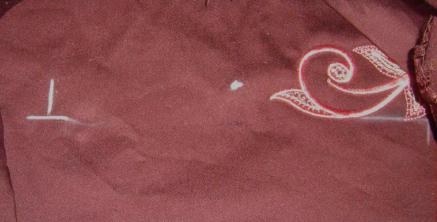
From my ‘discovery sew' I determined that the very first stitch would be my ‘spot' for alignment. My preference for matching items in a linear manner is to use a ruler that is clear and I make my marks for that first stitch on my ruler to transfer to my fabric. I can, with my stitch forward/backward button, go to that spot and adjust my hoop so it is on the mark. I also check to be sure that the design will lie in the correct horizontal position at that point as well.
Don't forget to use clips of some type to keep your fabric out of harms way! See my blog on hooping to show the detail of how to do endless hooping.
After washing, I may need to do some trimming, but I don't see it as a problem.
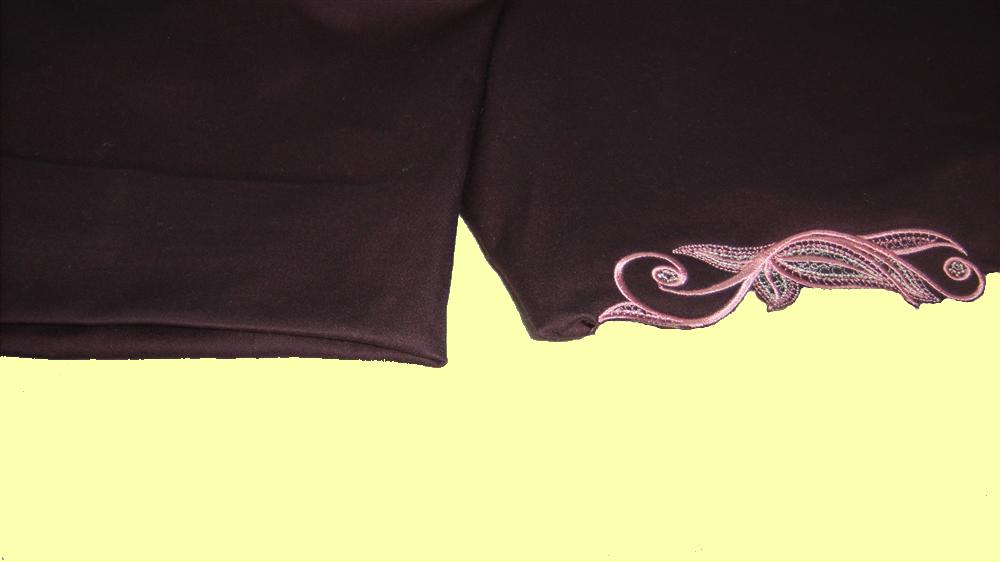
The shorts are a great chocolate brown and the thread is a fantastic salmon. They are amazing together!! What do you think? My photography does not show just how fabulous these really are. I left one leg as if it would be hemmed, and finished one leg embroidered.